




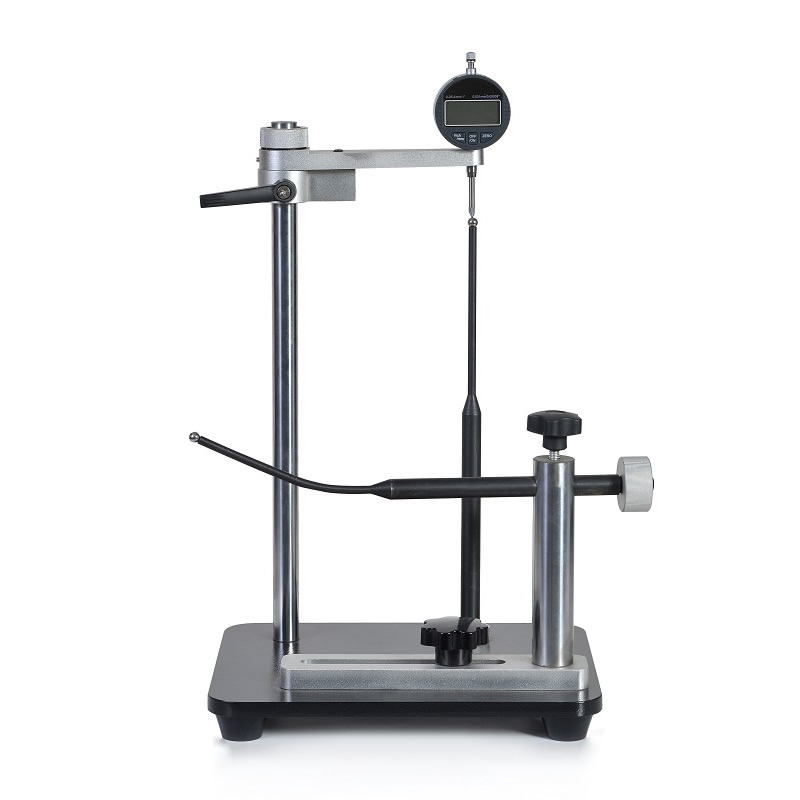
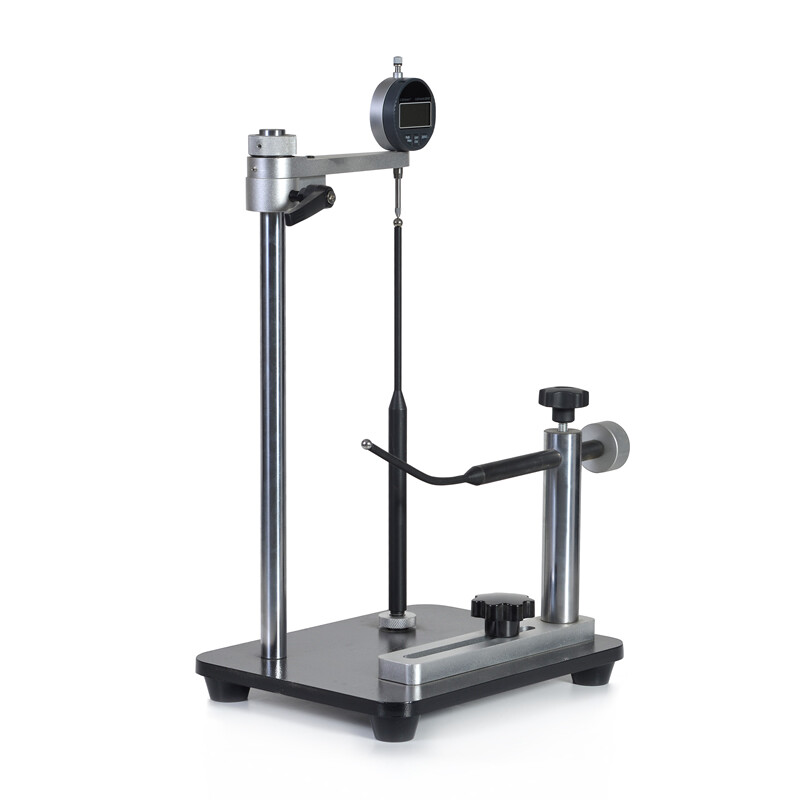
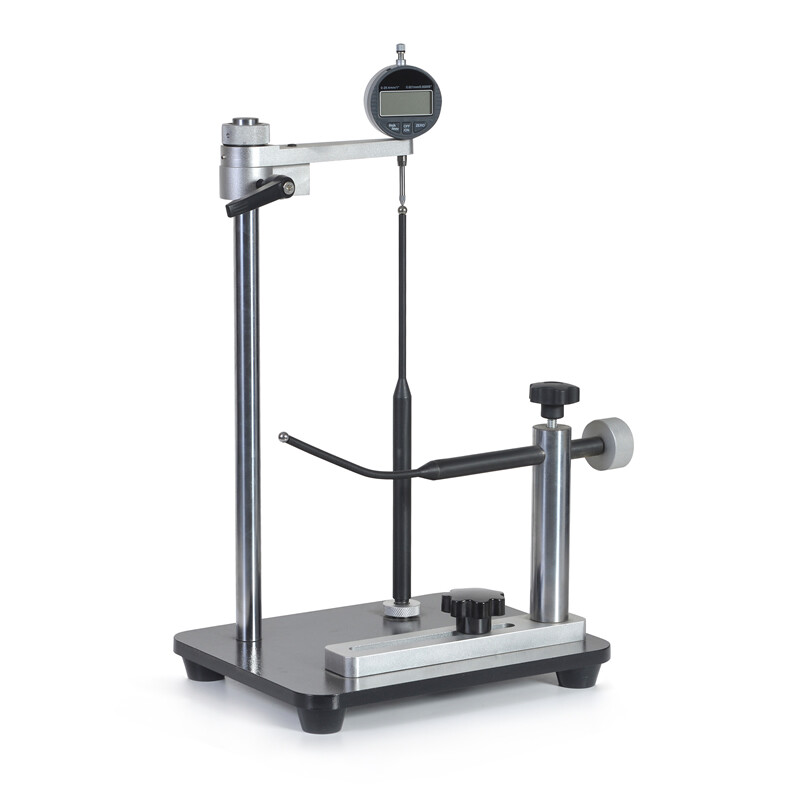
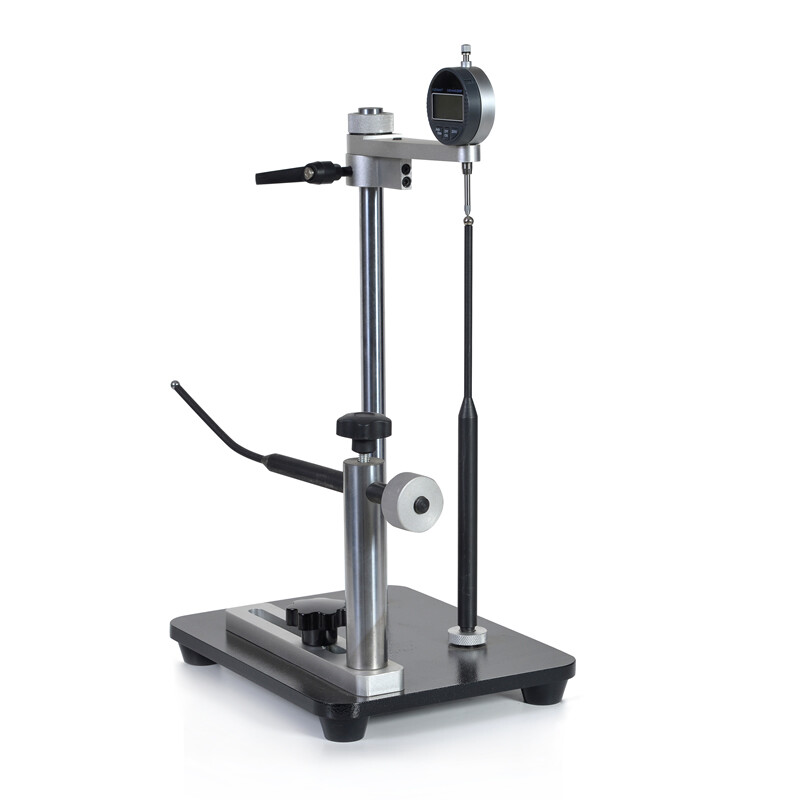
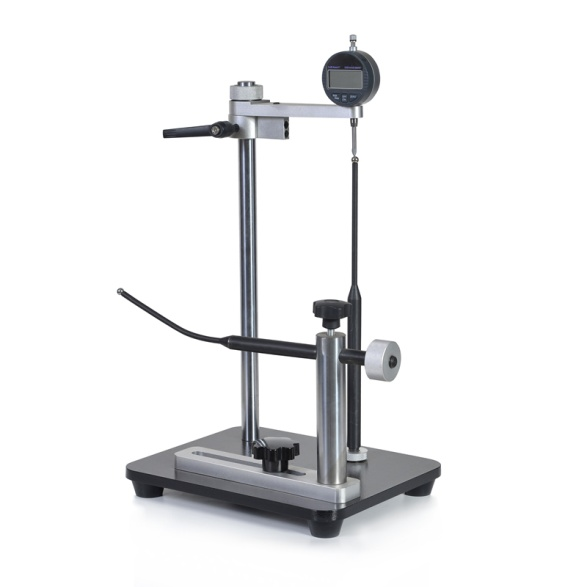
What Is A Bottle Wall Thickness Tester?
A Bottle Wall Thickness Tester measures the distance between the inner and outer surfaces of a container at a selected location. Depending on the instrument and method, it may measure an intact bottle or a section cut from one. The resulting data helps manufacturers assess material distribution in the base, sidewall, shoulder, and neck. Thickness is a local measurement: a single reading cannot establish uniformity across an entire bottle, particularly where geometry or stretching conditions vary.
Wall distribution matters because thin areas may be associated with mechanical weakness, while unnecessarily thick regions can increase material use or interfere with downstream requirements. The significance of any reading depends on the resin or glass grade, bottle geometry, filling conditions, and intended use. A thickness result alone does not establish drop resistance, barrier performance, or package integrity; these properties require appropriate additional tests and acceptance criteria agreed for the application.
Typical users include bottle manufacturers, beverage and personal care packaging teams, pharmaceutical packaging suppliers, contract laboratories, and incoming quality inspectors. Engineers also use thickness data when developing molds, adjusting blow-molding conditions, investigating defects, or evaluating lightweight designs. An effective inspection plan defines the container locations, sample size, measurement technique, and decision limits before results are compared across batches or suppliers. Measurements should be recorded alongside the bottle identification and relevant production conditions.
How Measurement Methods Work
Mechanical contact instruments measure the separation between opposing contact surfaces, commonly using a micrometer or a purpose-built gauge. Access to both sides of the wall is necessary, so complex bottles often need to be cut into sections. Contact geometry and applied force influence the reading, especially on curved, soft, or uneven samples. This approach can be useful for accessible locations and direct comparison, but cutting consumes the sample and can make repeat positioning more difficult.
Magnetic methods generally place a small target inside the container and a probe outside it. The instrument estimates wall thickness from the magnetic interaction between them, subject to the equipment's operating principle and calibration. These methods can be useful for intact nonmagnetic containers where the target can reach the area of interest. Target placement, curvature, surface condition, wall thickness, and nearby magnetic materials can affect results, so the proposed bottle and target must be evaluated together.
Ultrasonic instruments send sound into the wall and interpret reflections to estimate thickness. Performance depends on factors including material acoustic properties, wall thickness, surface geometry, probe frequency, and suitable coupling. Multilayer structures and very thin walls can complicate interpretation because reflections may overlap or arise from interfaces. Optical methods are another possibility for compatible materials and geometries, but transparency, surface finish, and access impose constraints. No single technique is appropriate for every bottle or inspection point.
Applications And Standards In Packaging
In plastic bottle production, teams often examine the base, heel, sidewall, and shoulder to understand how material has stretched during forming. Measurements taken after changes to preform design, heating, blowing, or mold setup can help identify shifts in distribution. Glass container users may also need to assess critical areas, although the suitable method and probe depend on the specific container and instrument. Map locations consistently and compare like-for-like samples rather than relying on a single convenient point.
For medicinal and other regulated packaging, thickness measurements can support a broader container qualification and change-control program. Applicable requirements depend on the material, market, product, and agreed specification; a thickness tester alone does not demonstrate regulatory compliance. Buyers should identify the relevant pharmacopeial requirements, material standards, and customer test methods with their quality team, then confirm whether the proposed instrument and procedure are suitable. Calibration records, controlled procedures, and traceable sample identification support defensible results.
Buyers evaluating a Bottle Wall Thickness Tester can discuss the BTG-02 model with paratronix and request a demonstration using their own bottle types. Confirm the model's actual measuring principle, supported materials, measurement range, probe access, and available documentation before specifying it. paratronix also lists leak, torque, water vapor permeability, and other packaging test equipment, which can be relevant when a quality program needs to assess properties beyond wall thickness. Suitability should be established separately for each required test.
How To Select And Qualify Equipment
Start with representative bottles, including the smallest opening, tightest curvature, expected minimum and maximum wall thickness, and any multilayer construction. Identify whether intact samples must be retained and whether internal access is possible. Specify the critical measurement locations and the required throughput per shift. Then compare methods for practical access and repeatability at those locations, not just for their advertised measurement range. Include difficult shapes and samples near acceptance limits in the evaluation.
Distinguish display resolution from accuracy and repeatability: a fine display increment does not by itself establish measurement quality. Ask the supplier for documented performance under conditions relevant to the sample and for information on calibration artifacts, uncertainty, and environmental limits. A measurement system study using multiple operators, representative samples, and repeated readings can help determine whether variation is acceptable relative to the tolerance. Agree on the study design and acceptance criteria with the responsible quality team.
Before purchase, check probe and target options, sample fixturing, calibration procedures, software compatibility, data export, training, spare parts, and local service arrangements. Ask whether the instrument records minimum readings or measurement locations if these are needed for your procedure, and verify any claims during a trial. For controlled environments, assess user access, audit trail, and data integrity requirements against the available configuration. Document unresolved requirements in the quotation so that procurement can compare suppliers on the same basis.
Inspection Workflow And Quality Control
On receipt, inspect the equipment and accessories against the order, install it in an appropriate environment, and complete the supplier's setup and calibration steps. Prepare a controlled work instruction covering instrument settings, sample conditioning where relevant, measurement locations, and handling precautions. Use reference artifacts appropriate to the method and working range, and document their identification and calibration status. Before routine use, verify performance with representative bottles and confirm that operators can consistently reach the specified locations.
During inspection, identify each sample and measure the defined points in a consistent sequence. Keep probes and contact surfaces clean, and follow the instrument instructions for positioning, coupling, or target handling as applicable. Record individual values and the relevant batch, mold, cavity, date, and operator information when available. If a result falls outside the specification, follow the approved procedure for repeat measurement, sample segregation, investigation, and disposition; do not silently replace the original reading.
Set verification and maintenance intervals according to manufacturer guidance, usage, quality risk, and observed stability rather than assuming a universal schedule. Recheck the instrument after damage, probe replacement, software changes, or other events that could affect performance. Trend results by location and production conditions to support process investigation, while accounting for measurement variation and sampling differences. Periodically review the inspection plan when bottle designs, suppliers, materials, or manufacturing settings change.
Ownership Costs And Future Trends
Total ownership cost includes the instrument, probes or targets, reference artifacts, installation, training, calibration, maintenance, software, and replacement parts. Also account for operator time, sample preparation, consumables, and the value of bottles destroyed during inspection. A lower purchase price may not translate into lower operating cost if the method requires extensive sectioning or frequent setup. Request a written quotation with accessory and service assumptions, then compare costs over a period that reflects the expected service life.
Estimate potential return by comparing the current inspection process with a proposed workflow using measured cycle times, sample consumption, and labor rates. Where justified by evidence, include changes in scrap investigation or material optimization, but avoid assuming that a tester alone will reduce defects. Separate one-time implementation costs from recurring savings and test conservative and optimistic scenarios. A pilot using actual production samples provides stronger purchasing evidence than a calculation based solely on supplier claims.
Packaging teams are increasingly interested in lightweight designs, recycled content, more detailed process data, and integration between inspection records and production systems. These developments can increase the value of consistent location mapping and measurement traceability, while also introducing material and geometry variation that must be validated. When evaluating future equipment, prioritize demonstrated performance on current bottles, maintainable calibration, and exportable records. Share sample drawings, materials, target locations, tolerances, and throughput requirements with paratronix to obtain a configuration-specific proposal.
Search by Keywords