




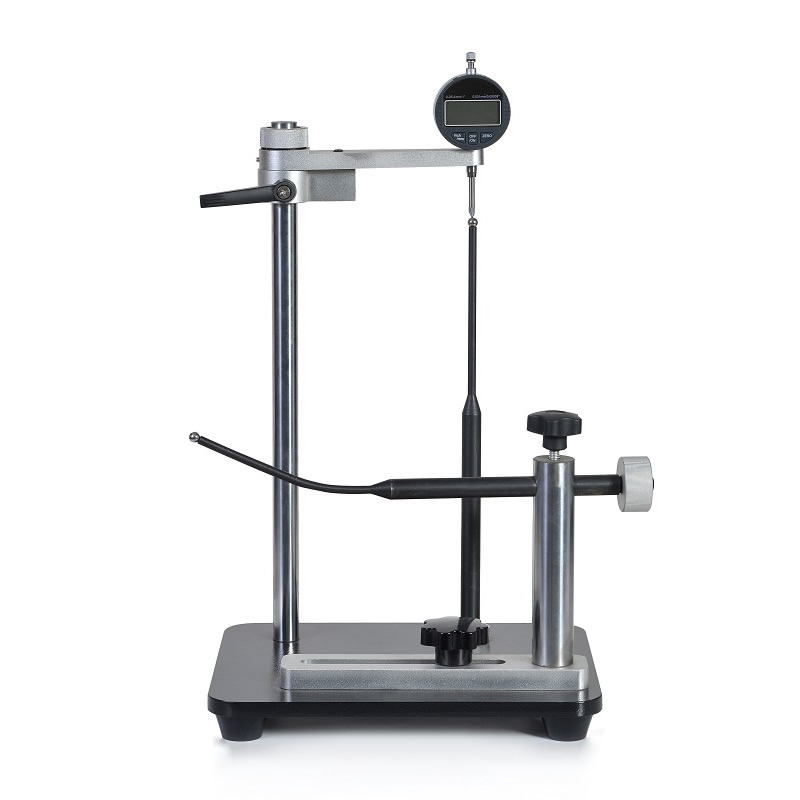
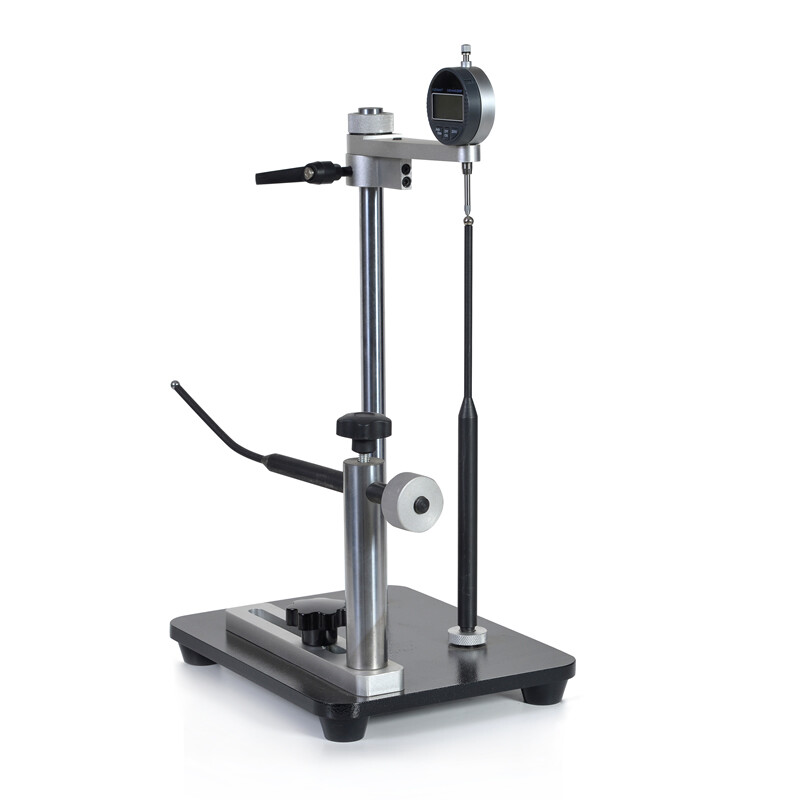
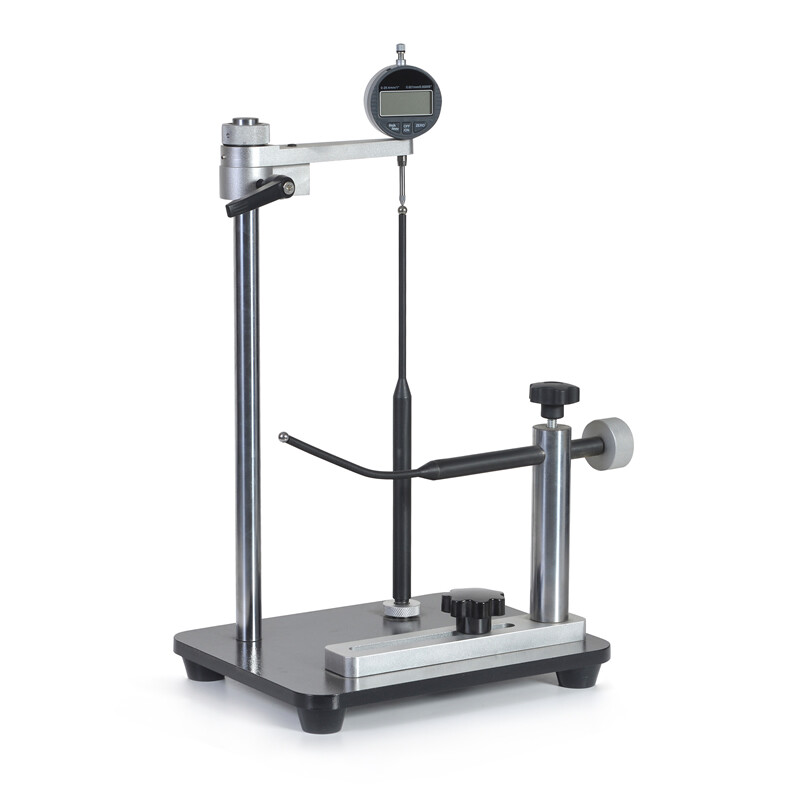
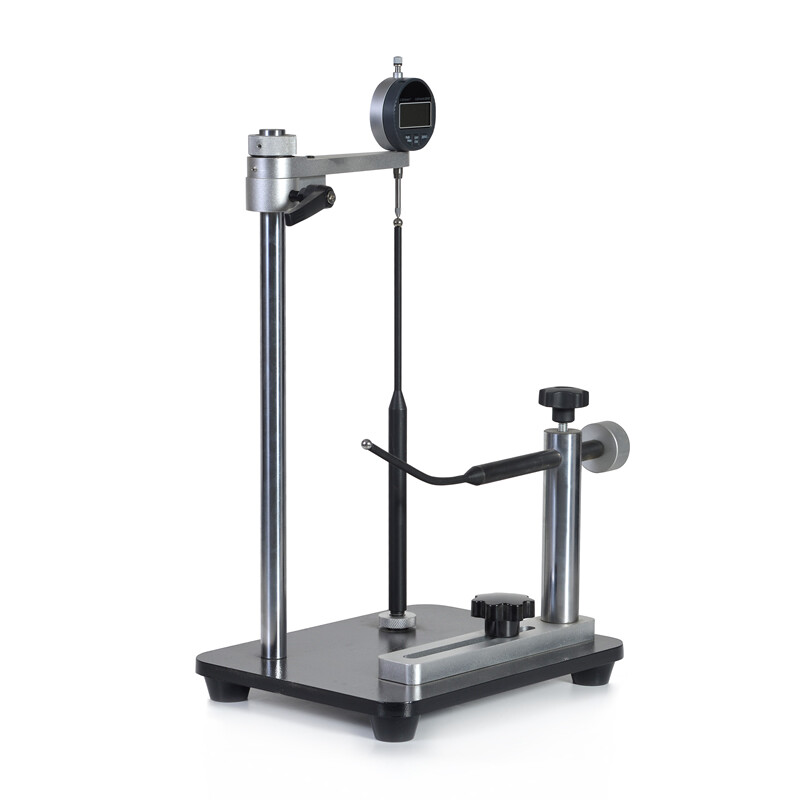
What Is A Laboratory Bottle Wall Thickness Tester?
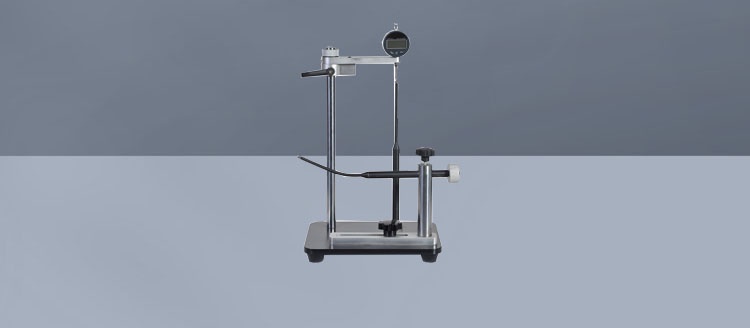
A laboratory bottle wall thickness tester is an instrument used to measure the local thickness of a bottle or similar hollow container. Measurements may be taken at the neck, shoulder, body, heel, or base, depending on the instrument and sample geometry. The resulting profile helps a laboratory assess how material is distributed and whether critical areas meet an agreed specification.
Thickness is a local dimension, whereas bottle weight represents the total amount of material in the container. Two bottles with similar weights can have different distributions because molding conditions, material flow, or mold geometry have changed. A thickness map can therefore reveal thin or heavy regions that a weight check alone may not identify.
The term covers several measurement approaches rather than one universal instrument design. Mechanical gauges measure a cut section directly, while magnetic and ultrasonic systems can measure suitable containers without cutting them. Their applicability depends on the bottle material, surface shape, access to the measurement point, and the accuracy required for the decision.
Thickness data supports process control and packaging development, but it does not by itself establish that a bottle is fit for use. A complete assessment may also consider dimensional tolerances, leak resistance, closure performance, barrier properties, and handling requirements. Acceptance limits should be based on the application and agreed between the relevant supplier and customer.
How The Measurement Methods Work
Mechanical measurement typically requires a bottle section to be cut so that a micrometer or suitable thickness gauge can contact both surfaces. The reading is the distance between the instrument contacts. This direct method is useful for accessible sections, but cutting destroys the sample and requires care to avoid distorting the wall or measuring a damaged edge.
A magnetic system commonly places a small target, such as a steel ball, on one side of a nonmagnetic wall and a probe on the other. The instrument estimates the separation between the probe and target from their magnetic interaction. Target size, surface curvature, positioning, and material compatibility can affect the reading, so the procedure should follow the instrument manufacturer's instructions.
An ultrasonic system sends a sound pulse into the wall and uses reflected signals to estimate thickness. Its calculation depends on the sound velocity entered for the material, and it may require a suitable coupling medium. Thin walls, curved surfaces, multilayer structures, and weak echoes can make measurements more difficult; a trial on representative bottles is advisable.
For any method, distinguish display resolution from demonstrated measurement performance. A fine numerical increment does not guarantee low uncertainty on a curved, textured bottle. Check performance using suitable reference pieces and, where practical, compare results against an independent method on representative samples. Record the measurement location and technique so that results can be interpreted and repeated.
Applications And Standards Considerations
Bottle manufacturers use thickness measurements during mold qualification, production setup, routine quality checks, and investigations into process variation. Packaging developers use them to compare designs or assess material reduction proposals. Contract laboratories and brand owners may also measure incoming containers or examine samples associated with a packaging complaint.
Typical applications include plastic beverage, personal care, household chemical, and pharmaceutical packaging, as well as suitable glass containers where the chosen method can measure them reliably. The shoulder, sidewall, heel, and base can behave differently during forming and handling. Select measurement points around each bottle and across production samples to reflect the risks of the specific design.
There is no single thickness limit or test method that applies to every bottle and market. Review the current standards, regulations, customer specifications, and material requirements applicable to the product and its intended use. Confirm that the selected method, sampling plan, measurement locations, and acceptance criteria are documented before using results for a release decision.
For a broader packaging test program, paratronix lists equipment categories including leak testers, torque testers, water vapor permeability testers, and medical packaging physical performance testers. These can address different performance questions alongside dimensional measurement. Ask paratronix to confirm the availability and suitability of any specific instrument, including whether it can support the bottle thickness method required for your samples.
How To Select The Right Tester
Start with the sample: identify its material, expected thickness range, bottle size, surface finish, and the areas that must be measured. Check whether both sides of the wall are accessible and whether destructive testing is acceptable. Small openings, tight radii, embossed surfaces, and thick bases can restrict probe or target access even when the overall range appears suitable.
Next, define the measurement capability needed for the tolerance and decision. Review the instrument's stated range, resolution, accuracy conditions, calibration options, and any limitations for curved or multilayer samples. Ask for a demonstration using your own bottles at thin and thick locations. Assess repeatability across operators as well as whether the readings agree with a suitable reference.
Consider the practical workflow. A laboratory bottle wall thickness tester may need interchangeable probes or targets, fixtures for consistent positioning, data export, or a way to identify sample locations. The relevant features depend on throughput and reporting needs. Confirm what is included in the quotation, what requires additional purchase, and whether consumables or accessories are readily available.
Before ordering, request a written description of the proposed configuration, measurement procedure, training, warranty, service coverage, and calibration support. Provide drawings, material details, expected ranges, and representative samples when possible. A sample trial and documented acceptance criteria can help both parties establish whether the instrument is appropriate before it enters routine use.
Building A Reliable Testing Workflow
Create a sampling plan that identifies the production batch, sampling frequency, number of bottles, and locations to be checked. Include areas known to be critical for the design and record their positions consistently. Where process behavior warrants it, collect samples across cavities or over time so that variation is visible rather than hidden in a single average.
Prepare and condition samples according to the applicable method or internal procedure. Keep measurement surfaces clean, inspect probes and reference pieces, and perform the instrument checks specified by the manufacturer. For ultrasonic testing, use the appropriate material velocity and coupling procedure; for magnetic testing, verify target placement and accessibility before recording results.
Document individual readings, locations, instrument identification, operator, sample identification, and relevant environmental or preparation conditions. Define what happens when a reading falls outside the agreed limit, including confirmation, sample handling, escalation, and investigation. Trending minimum values and location-specific results can be more informative than relying only on an overall bottle average.
Set calibration and verification intervals according to manufacturer guidance, usage, quality system requirements, and observed instrument stability. Train operators on probe positioning and the limitations of the chosen method. Review the procedure when bottle design, material, tooling, or the instrument configuration changes, because a previously suitable measurement location may no longer represent the highest-risk area.
Total Cost And Future Trends
The purchase price is only one part of total ownership cost. Include probes, targets, reference standards, fixtures, software, installation, training, calibration, servicing, and replacement parts where applicable. Also estimate operator time, sample preparation, and the cost of bottles destroyed during testing. Request a quotation that separates initial equipment from recurring and optional charges.
To evaluate return on investment, compare the proposed workflow with the current process over a realistic period. Potential benefits may include faster measurements, fewer destroyed samples, earlier detection of distribution changes, and less time spent investigating inconsistent results. Estimate each benefit using your own production volumes and costs, and account for training, maintenance, and the possibility that results vary by bottle design.
Demand for lighter packaging and more consistent material use is increasing the value of location-specific measurement. Digital recordkeeping and data export can also make it easier to compare batches and investigate trends. Automated inspection may be appropriate for some production environments, while laboratory measurements remain useful for development, verification, and detailed examination of selected samples.
When discussing a project with paratronix, share the container material, dimensions, target measurement locations, required throughput, and relevant specifications. Ask which available equipment addresses each test objective and request a representative sample evaluation where appropriate. This gives the supplier a practical basis for recommending a configuration and gives your team evidence for comparing technical fit and operating cost.
 What Does a Bottle Wall Thickness Tester Measure in PET Packaging?Discover what a Bottle Wall Thickness Tester measures in PET packaging and how reliable thickness profiles support quality control and production consistency.
 Can a wall thickness tester measure the base of a medicine bottle?Can a Wall Thickness Tester For Medicinal Bottles measure the base? Explore suitable methods, probe access, and tips for reliable quality control.
 Where should wall thickness be measured on a medicine bottle?Wall Thickness Tester For Medicinal Bottles: Discover where to measure the body, shoulder and base for reliable, repeatable quality checks.
Search by Keywords