Recent Posts
![PNY-20 Bottle Cap Torque Tester: Ensuring Precision & Compliance for Packaging Closures PNY-20 Bottle Cap Torque Tester: Ensuring Precision & Compliance for Packaging Closures]() PNY-20 Bottle Cap Torque Tester: Ensuring Precision & Compliance for Packaging Closures31/03/2026
PNY-20 Bottle Cap Torque Tester: Ensuring Precision & Compliance for Packaging Closures31/03/2026![The Science of the Shave: How We Test the Sharpness of Our Electric Razor Foils and Blades The Science of the Shave: How We Test the Sharpness of Our Electric Razor Foils and Blades]() The Science of the Shave: How We Test the Sharpness of Our Electric Razor Foils and Blades21/03/2026
The Science of the Shave: How We Test the Sharpness of Our Electric Razor Foils and Blades21/03/2026![Understanding ASTM D3985: Standard for Measuring Oxygen Transmission Rate in Barrier Understanding ASTM D3985: Standard for Measuring Oxygen Transmission Rate in Barrier]() Understanding ASTM D3985: Standard for Measuring Oxygen Transmission Rate in Barrier12/03/2026
Understanding ASTM D3985: Standard for Measuring Oxygen Transmission Rate in Barrier12/03/2026![ASTM D3985 Standard Test Method for Oxygen Gas Transmission Rate Through Plastic Film and Sheeting Using a Coulometric Sensor ASTM D3985 Standard Test Method for Oxygen Gas Transmission Rate Through Plastic Film and Sheeting Using a Coulometric Sensor]() ASTM D3985 Standard Test Method for Oxygen Gas Transmission Rate Through Plastic Film and Sheeting Using a Coulometric Sensor26/02/2026
ASTM D3985 Standard Test Method for Oxygen Gas Transmission Rate Through Plastic Film and Sheeting Using a Coulometric Sensor26/02/2026![Oxygen barrier performance test of medical plastic ampoule bottles Oxygen barrier performance test of medical plastic ampoule bottles]() Oxygen barrier performance test of medical plastic ampoule bottles09/02/2026
Oxygen barrier performance test of medical plastic ampoule bottles09/02/2026
Standard Test Method for Thickness of Paper and Paperboard.
1. Scope
1.1 This test method covers the determination of the thick-ness of paper and paperboard except electrical insulating papers (see
Test Methods D202).
1.1.1 Because of the relatively high pressure $0 kPa [7.3 psi] used in this test method, it may not be suitable for measurement of
tissue or other soft or low density materials,because the structure may collapse (decrease in thickness) at the prescribed pressure
of 50 kPa.
1.2 The values stated in either Sl units or in other units shall be regarded separately as standard. The values stated in each system
may not be exact equivalents; therefore, each system must be used independently of the other, without combining values in any
way.
5.Apparatus
5.1 Micrometer, conforming to the following specifications:
5.1.1 Motor operated, dead-weight (not spring) actuated.
5.1.2 The micrometer shall have a flat ground circular movable face (the presser foot), having an area of 200 6 5mm [equivalent to
about 0.31 6 0.01 in.2]and corresponding to a diameter of 16 6 0.2 mm [0.63 6 0.01 in.].
5.1.3 The micrometer shall have a fat ground circular fixed face (the anvil) of such size that it is in contact with the whole area of
the pressure foot in the zero position.
5.1.4 The surface of the presser foot shall be parallel to the surface of the anvil to within 0.001 mm [0.00005 in.]. The presser foot
movement shall be on an axis that is perpendicular to the anvil surface, The minimum distance between the anvil and the
presser foot in the “up"" or raised position shall be 0.75 mm [0.030 in.].
5.1.5 The presser foot, when lowered, shall exert steady pressure on the specimen of 50 6 2 kPa [approximately 7.3 60.3 psi or
0.51 kgf/cm2] for 3 6 1 s. The period of steady pressure on the specimen is referred to as dwell time.
5.1.6 The presser foot shall have a lowering speed of 0.8 60.1 mm [0.03 6 0.004 in.]/s.
5.1.7 The frame of the micrometer shall be of such rigidity that a load of 1.5 kg (3 lb) applied to the dial housing, out of contact
with either the weight or the presser foot spindle, will produce a defection of the frame not greater than 0.0025 mm[0.0001 in.]
as indicated by the micrometer readout system.
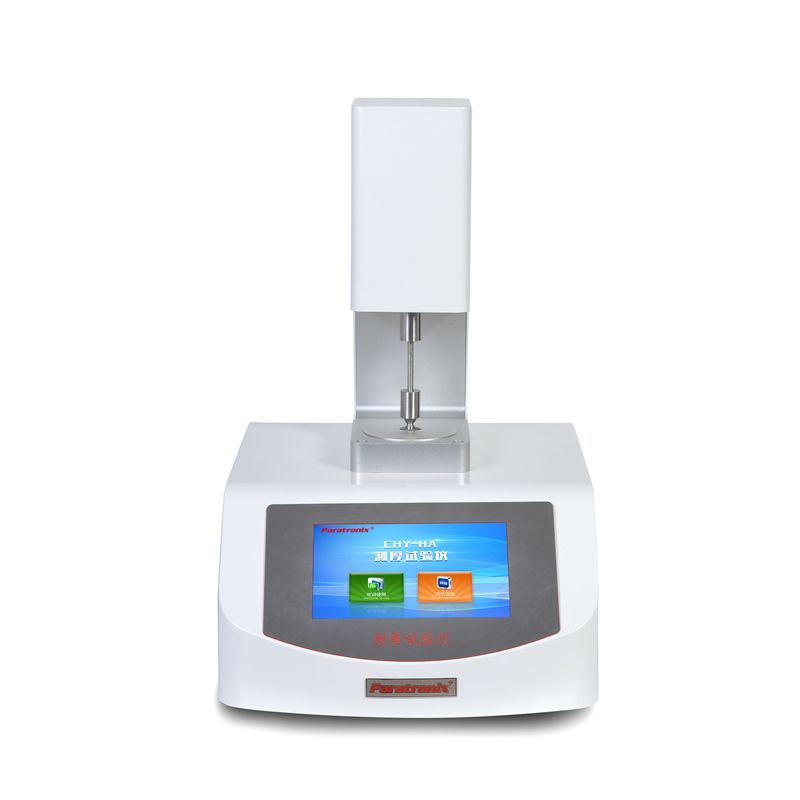
Testing instruments:PTT-03 Thickness Tester

9. Procedure
9.1 Genera-Before using any micrometer, make sure that the presser foot and anvil surfaces are clean, that the calibration of
the instrument has been verified and a calibration curve has been prepared, if necessary, and that the instrument is mounted
on a solid level surface free from noticeable vibration.
9.2 Place the specimen on the anvil in such a position that all points on the peripheries of the contact surface are at least6 mm
(0.25 in.) from the edges of the specimen.
9.2.1 When using multiple-sheet test specimens including combined paperboard, the presser foot shall not be closer than20
mm (0.75 in.) from any edge of the stack.
9.3 Take a specified number of measurements mutually agreed upon between the producer and the consumer. Measure at
regular intervals across the entire width of each specimen,preferably in a line that is at right angles to the machine direction
of the paper. In all cases, make at least five such measurements on each specimen, except if only an estimate of lot or test unit
average is required (that is, variations of thickness within a sheet are of no interest). Then only two readings per specimen
need be made.
9.4 Take each reading near the end of the dwell time. if necessary, apply the calibration corrections to the readings.
9.5 If the thickness of noticeably compressible papers is being measured, it is particularly important that the rate of fall of the
presser foot and the dwell time be within the specified limits, (See 5.1.5 and 5.1.6,) Examples of noticeably compressible papers
include tissue paper, or other soft or low-density papers.
Leave A Reply
Search by Keywords


