




Recent Posts
 How Bone Screw Self-Tapping Testers Measure Axial Force and Tapping TorqueOct 17, 2026
 ASTM F543 Bone Screw Pull-Out Testing: Setup and Reporting RequirementsOct 17, 2026
 What does a lipstick breaking strength tester actually measure?Oct 16, 2026
 What Does an Adhesive Tack Tester Measure in Pressure-Sensitive Tapes?Oct 15, 2026
 Which gases can a gas transmission rate tester actually measure?Oct 14, 2026
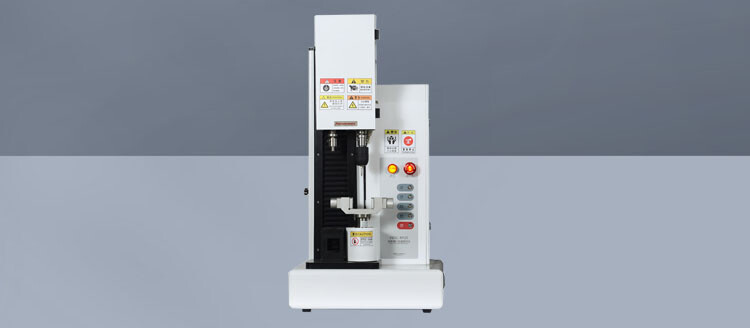


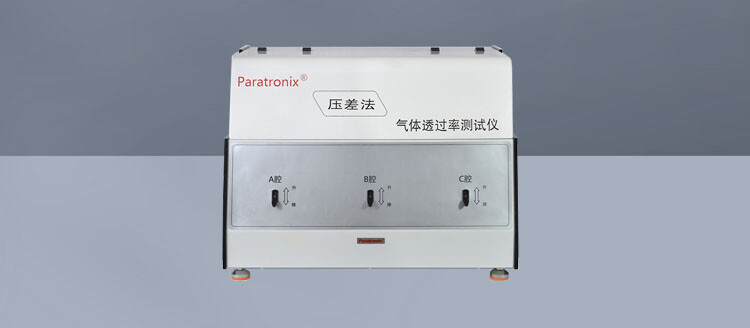
A Negative Leak Tester locates leaks by placing a sealed component inside a chamber, reducing the pressure around it, and observing how the component responds. The pressure difference between the inside of the package and the evacuated chamber forces air trapped in a leak path to escape. Depending on the test method and the package, the operator may detect this escape through visible bubble formation, package expansion, pressure behavior, or an instrument-generated result.
The principle is simple, but the reliability of the conclusion depends on what is being tested, how the vacuum cycle is set, and what type of defect the manufacturer is trying to find. A vacuum leak test can be highly useful for screening seal integrity in pharmaceutical packs, plastic containers, pouches, trays, and high-barrier packaging. It does not automatically prove that every package is defect-free under every transport or storage condition.
What the tester is actually looking for
In sealed components, a leak is any unintended path connecting the product space or internal headspace with the outside environment. That path may be obvious, such as an incomplete heat seal or a puncture. It may also be subtle: a channel in a seal edge, a fold trapped in the sealing area, a weak bond around a closure, a pinhole in a barrier film, or damage introduced after sealing.
A Negative Leak Tester does not usually “see” the defect directly. It creates conditions that make the defect reveal itself. When the chamber pressure falls, the pressure inside a properly sealed pack is temporarily higher than the pressure outside it. If a continuous leak path exists, internal gas can move outward. For many flexible packages immersed in liquid, that escaping gas appears as a stream of bubbles. For other formats, the response may be less visual and more dependent on pressure measurement, package movement, or a defined pass/fail procedure.
This distinction matters because the instrument identifies evidence of leakage under a controlled pressure differential. It does not identify the exact root cause by itself. A failed result points the investigation toward the seal, material, closure, forming process, or handling stage; further inspection is often required to determine which one created the defect.
How a vacuum leak test proceeds
The basic cycle normally consists of loading the specimen, drawing a vacuum, holding it at a selected condition, observing or measuring the response, then venting the chamber. The specimen should be representative of the production package, including its normal fill level, closure configuration, and sealing conditions where possible.
For a visual water-immersion test, the package is submerged in a suitable liquid inside a transparent vacuum chamber. As vacuum is applied, a package with a leak may release a distinct, continuous trail of bubbles from one location. After the test, the operator can often identify whether the leakage originated from a seal edge, corner, material surface, or closure area.
For dry tests or instrumented methods, the chamber may be used without immersion. The tester can evaluate the behavior of the chamber and specimen during the vacuum and hold stages. This approach may be more appropriate when the product must remain dry, when water immersion is impractical, or when visual observation is insufficient for the application. The exact interpretation depends on the testing method used and the validation approach established by the manufacturer.
A typical sequence involves several decisions:
- The chamber must accommodate the package without excessive crowding or uncontrolled movement.
- The vacuum level must be high enough to challenge the seal without causing an acceptable package to distort or burst.
- The hold time must allow the suspected leak mechanism to become detectable.
- The test medium, if one is used, must make bubble release observable without affecting the specimen in a misleading way.
- The acceptance criteria must distinguish a meaningful leak indication from normal degassing, trapped surface air, or package deformation.
These settings are not interchangeable across all products. A thin flexible pouch, a rigid blister cavity, and a plastic bottle with a cap can react very differently when surrounding pressure falls.
Why bubbles are useful, and why they can mislead
The most familiar form of negative pressure leak testing is the bubble-emission method. It is intuitive because the leak indication is visible. A steady stream of bubbles emerging from the same point during the vacuum hold is strong evidence that gas is escaping through a defect.
However, not every bubble in a vacuum chamber indicates a package leak. Air can be trapped on rough surfaces, beneath labels, around molded features, or between packages and fixtures. Some materials release dissolved gases when pressure is reduced. A package may also expand enough to dislodge air from its surface. These effects can create isolated bubbles or scattered activity that looks suspicious without representing a continuous leak path.
Operators therefore need to look at the character and location of the bubble release, not merely whether any bubble appears. A leak-related signal is usually repeatable, localized, and sustained while the pressure differential remains. Random bubbles dispersed across the package surface are less conclusive. Retesting a fresh sample under the same conditions can help separate a real indication from an observation artifact, provided the first test has not altered the package.
Bubble testing also has a practical limitation: it relies on visibility and human judgment. A dark, opaque, heavily printed, irregularly shaped, or multi-compartment package may make the suspected leak area difficult to inspect. For such packs, a vacuum-based method may still be valuable, but the test setup and detection approach need more consideration than a simple visual water bath.
What determines whether a leak is found
A Negative Leak Tester is most effective when the test creates a meaningful pressure differential across the defect and the defect remains open under that condition. That sounds straightforward, yet several packaging behaviors can complicate the result.
Some seal defects behave like channels and readily allow air to pass. Others may be intermittent. A crease in a heat seal, for example, can open under one combination of pressure and package flexing but remain closed under another. Certain materials may deform against the defect path under vacuum, reducing gas flow and making the flaw harder to detect. A defect may also be so small that the gas release is below the sensitivity of a visual method within the selected test time.
Package stiffness and headspace are especially influential. Flexible packs with internal headspace can expand visibly under vacuum. That expansion may help expose a weak seal, but excessive expansion can create a test-induced failure that would not occur in normal handling. Rigid packs may show little visible movement, so a leak can be harder to identify by observation alone. Packages with very little headspace may have less internal gas available to escape, which can reduce the visibility of a bubble signal.
Product characteristics matter as well. Powders, liquids, oils, viscous formulations, and volatile products can affect how the package behaves under vacuum. A liquid product may block a leak path temporarily. Product residue near a seal can be the actual cause of leakage, but it can also obscure visual inspection. Where the test is intended for routine quality control, the method should reflect the real package configuration rather than an empty or artificially simplified specimen unless that simplification has been justified.
A leak test is not a universal barrier-performance test
Negative pressure testing is often discussed as an integrity test, and it is one. But seal integrity and long-term barrier performance are related without being identical.
A package can pass a vacuum leak test and still be unsuitable for a product with demanding moisture, oxygen, aroma, or light-protection requirements. Barrier performance depends on the material structure, film thickness, coating quality, seal design, closure system, storage environment, and the package’s behavior over time. A vacuum test primarily asks whether there is a detectable leakage path under the defined test conditions. It does not directly quantify permeation through an intact packaging material.
The opposite can also occur. A package made from an excellent barrier material can fail because the converting or sealing process introduced a channel, wrinkle, pinhole, or closure defect. This is why leak testing remains relevant for high-barrier structures: material specification alone cannot confirm that each finished package has retained its intended integrity.
For pharmaceutical packaging, the distinction has additional importance. The package may protect a dose, device, diagnostic material, or sterile barrier system. A negative pressure test can support evaluation of seal consistency and obvious leakage risks, but the test method must be appropriate to the packaging format and the product’s critical quality requirements. A method selected only because it is convenient may create a result that is difficult to interpret or defend.
Choosing conditions that produce useful results
The right question is not simply, “What vacuum level should be used?” It is, “Under what conditions will a defective pack reveal itself while an acceptable pack remains intact and interpretable?” The answer needs to be developed for the package system rather than copied from another line.
Testing conditions should consider the package’s mechanical strength, seal geometry, fill condition, internal pressure, and likely failure mode. A high vacuum may improve the chance of exposing some leaks, but it can also stress flexible packages beyond their intended use. A short hold time may keep throughput high but miss slow or small leak paths. A long cycle may add sensitivity in some cases while also increasing false indications from package deformation or material outgassing.
A sensible development process uses known acceptable samples and deliberately defective samples, where appropriate, to establish whether the method can distinguish the conditions that matter. The purpose is not to force every challenged sample to fail. It is to understand what the selected method can reliably reveal, what it may miss, and how the operator should interpret ambiguous behavior.
Where negative pressure testing fits in quality control
For many packaging operations, a Negative Leak Tester is well suited to development checks, incoming-material evaluation, process troubleshooting, and routine sampling. It can help answer practical questions such as whether a sealing adjustment has corrected a channel leak, whether a new film structure changes seal behavior, or whether handling damage is affecting package integrity.
It is particularly useful when the likely defect is a gross or visible pathway through a seal or package wall. Pouches, sachets, lidded trays, blister packs, sealed bottles, flexible medical packs, and other enclosed components may all be evaluated with a vacuum-based approach, although the chamber design and method details need to suit the format.
Its role is less clear when the required defect sensitivity is beyond what the chosen vacuum method can demonstrate, when the package geometry prevents dependable observation, or when testing must be performed at very high speed on every unit. In those cases, another integrity-testing technique, or a combination of methods, may be more appropriate. The decision should be based on the defect risk and acceptance requirement rather than on the familiarity of the equipment.
Interpreting a pass or fail result responsibly
A failed package should not automatically be treated as proof that the sealing machine alone is at fault. Leakage can originate from material variation, contamination in the seal area, incorrect process settings, poor cooling, worn tooling, misaligned closures, package handling, transport damage, or a mismatch between the package design and its intended use.
Likewise, a passing sample does not eliminate the need for process control. Sampling plans, seal-strength evaluation, visual inspection, dimensional checks, and material controls may all contribute to a broader packaging quality program. Vacuum leak testing answers a focused question: under the conditions applied, did this component show evidence of a leak?
That focus is its strength. When the chamber, vacuum profile, sample preparation, and acceptance criteria are matched to the package, a Negative Leak Tester turns an otherwise hidden defect into an observable event. The useful outcome is not merely a pass/fail mark. It is a clearer basis for deciding whether the seal and package system are performing as intended.
Leave A Reply
Search by Keywords